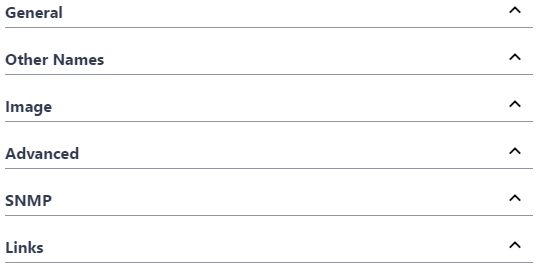
Side View in Edit Mode
-
Open a browser and go to http://127.0.0.1:8765. Change 127.0.0.1 to the address of the remote IntraVUE host as necessary.
- Click on any device. A slider bar will pop up on the right on the screen. This is your device properties panel.
![]() If you haven't Admin Verified such devices click "Admin Verify". See Admin Verification in IntraVUE 3
If you haven't Admin Verified such devices click "Admin Verify". See Admin Verification in IntraVUE 3
- While logged in as admin click "Edit". The Device Configuration dialog has 6 sections that allow you to configure the unique properties of a device.

- In the General Tab > Set a defined device name and location.
- In the Other Names tab > Set additional defined names (i.e. function, description, owner ).
- In the Image tab > Assign an image from the drop down.
- In the Links tab > Fill in any documentation link (e.g. Administration Web link, Floor Layout, Maintenance user manual, wiring diagram, location pictures, various devices properties) for each URL NAME box that wasn't auto-detected by IntraVUE.
- Click " Apply and Close"
 Remember to save your changes before clicking on a different device as your changes will not be saved automatically.
- Continue doing this for all end devices, switches, and the top parents (i.e. router, IntraVUE™ agent, and the IntraVUE™ host).
| Tab | Description |
|
General |
Contains Admin Verification, wireless, SNMP, email, and other settings. See Device Configure - General |
| Other Names |
Allows you to set other devices names in the devices properties. See Device Configure - Other Names |
| Image | Allows you to assign an image to a device. See Device Configuration - Image |
| Advanced | Allows you to change device type and behavior on the map view. See Device Configuration - Advanced Tab |
| SNMP | Allows you to enable or disable SNMP requests to a device. See Device Configure - SNMP |
| Links | Allows you to assign Web Links to a device. See Device Configure - Links |
