Device Configuration - Advanced Tab
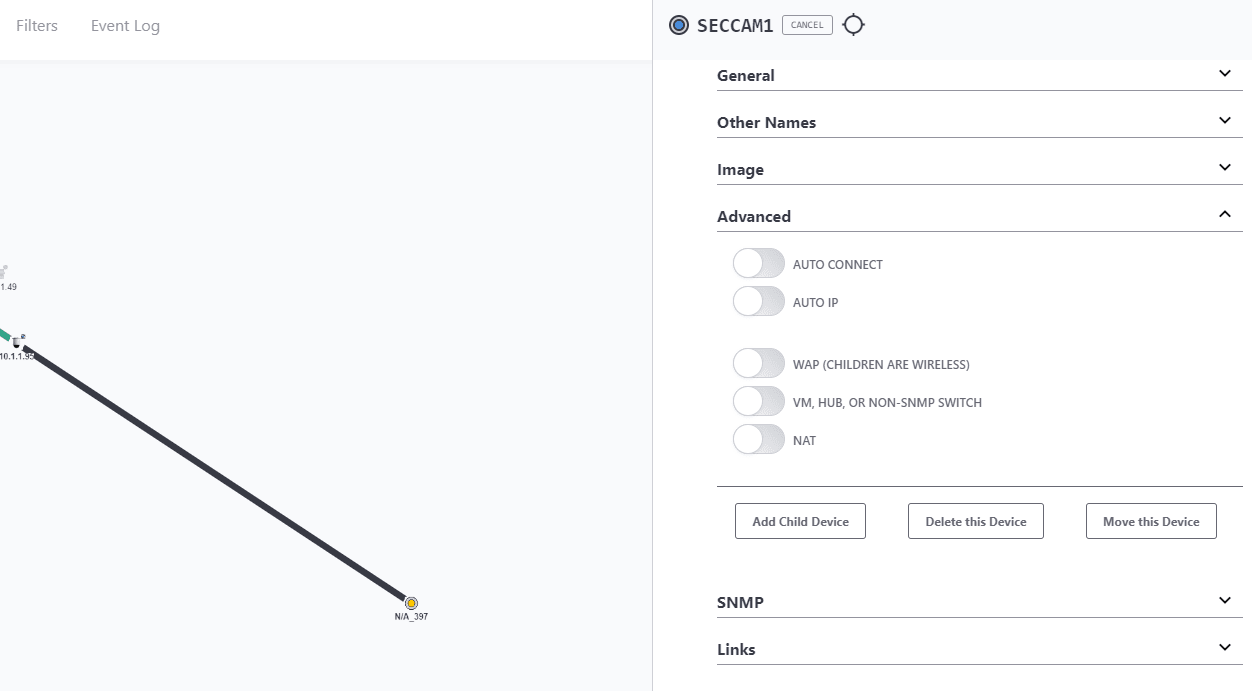
While logged in, click on a device and on the side bar click the 'Edit' button on top. On the side bar go down to this section. Click "Save Changes" to preserve changes.
This feature works in conjunction with Admin Verification. Enabling this check box configures IntraVUE™ to treat this device as having permission to connect and disconnect from the different parts of the network without creating 'ghost nodes' (see Admin Verified below).
Examples of this are wireless devices that roam a plant or test devices that move from location to location. When a device with this feature enabled re-connects to the network it becomes active in its (perhaps new) location without admin action.
Laptop computers and other equipment that can be connected at a number of different locations should also have this feature enabled. The event log will still document all connections made and lost.
Enabling this check box adds information about this device to a list of devices having IntraVUE™'s optional AutoIP BootP services. Note: if the device connects to a Cisco switch, you must edit the device configuration in AutoIP to a an @ with the VLAN number, like '@502' for VLAN 502.
AutoIP BootP server is a separate Software package that can be purchased to work with IntraVUE™. Please contact your local IntraVUE™ salesperson or go to the IntraVUE Main page for more information.
Enabling this check box causes any children of this device to have a dashed line using the color that is appropriate for its line condition. This is automatically checked if the device is discovered to be a Wireless Access Point.
The checkbox will cause all peer on the same port of the parent, managed switch, to become children of this device. It is provided as a convenience to using the MOVE function and works as new devices are discovered. Wireless APs should also have the WAP checkbox checked. A host computer with Virtual Machines can use this to make the VM sessions appear below the host PC.
This setting suppresses the automatic merge that would normally happen if multiple devices appear to have the same MAC (as is common when operating through NAT devices).
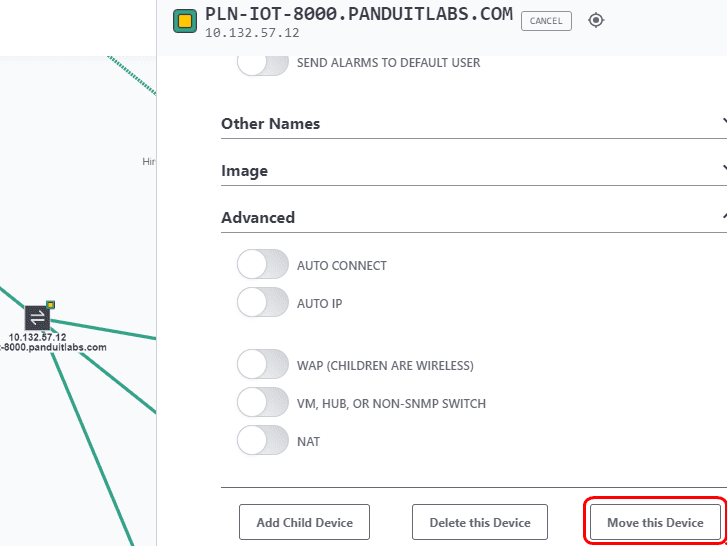
To add a child to a parent node login as admin, click on a parent node, go to 'Edit', and under Advanced click "Add Child Device" manually to add a node. Wait for IntraVUE™ to add the child will cause a manually inserted node to be added to the selected device. Manually inserted nodes will have "N/A" as the initial setting for all device views. These are capital letters to distinguish them from automatically inserted nodes which are in lower case letters, "n/a". This is typically used for devices connected via linking devices. The properties of the new node can be changed to reflect a device which is in the network but not visible to the scan engine. Typically, the other devices that are physically connected to the inserted node will be moved graphically to the new node using the MOVE function. An event log entry is generated for this operation. There will be a black connecting line to one of these nodes until a device which is responding to pings is moved under them. (You can not change the "N/A" in the IP View but you may change all the other device names).
To delete a device login as admin, click on the device, go to 'Edit', and under Advanced click "Delete this Device" manually delete this node. Click "Confirm Delete" to proceed with the deletion. Wait for IntraVUE™ to remove the device from the view wil remove the device and delete it from the database. NOTE: if the device's IP address is in the scan range the device will be rediscovered as soon as it responds to a ping.
 Delete These Devices:When logged in as an admin you can delete multiple devices with a single click. See Multiple Device Side View
Move allows the user to change the parent of a device. To move a device login as admin and click on the device, go to 'Edit', and under Advanced click "Move this Device" to manually move this node. Click on the target switch and wait for "Move Device? Yes No" confirmation on the navigation bar. Click "Yes" to proceed with the move. Wait for IntraVUE™ to move the device from the old parent to the new parent node.
There are several occasions when you may want to manually change the relationship between the devices shown on the IntraVUE™ browser window.
- You want to show non-IP address devices such as a copper to fiber media converter.
- You want show non-Ethernet devices such as serial devices that are connected through an Ethernet-to-Serial converter.
Media Converters
Media Converters typically do not have IP addresses. They may take the copper CAT5 cable and convert it to fiber or even wireless. A second device typically converts the signal back to copper.
When doing this it is desirable to have the port of the managed switch be maintained. In the image below there is a port number for the line connecting the device.
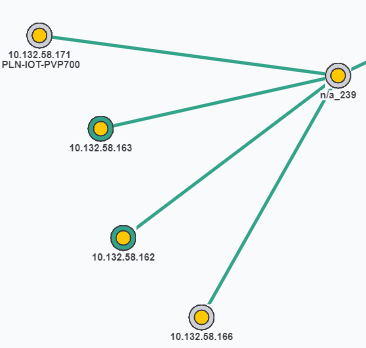
Use Add Child and add a child first to the device, and next to the just added child. You now have two unnamed child devices under the original device.
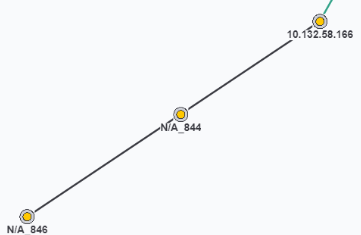
Now Delete the device with the IP address.
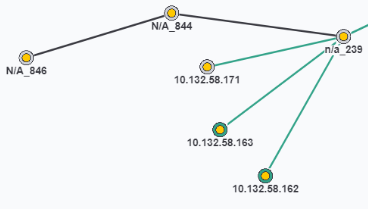
It will be rediscovered and become a child under a NEW auto-inserted node, at its original location. Next select the device (it gets a blue outline) and use Configure on the lowest child to MOVE the device below that node.
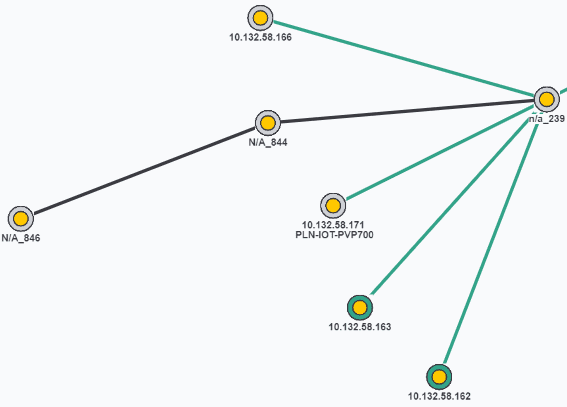
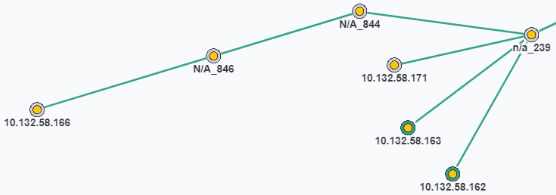
The auto-inserted node will go away, the connecting line to the first node will still have a port number, and the additional device nodes will help you understand you network when problems arise.
Example of Configuring a Bridge
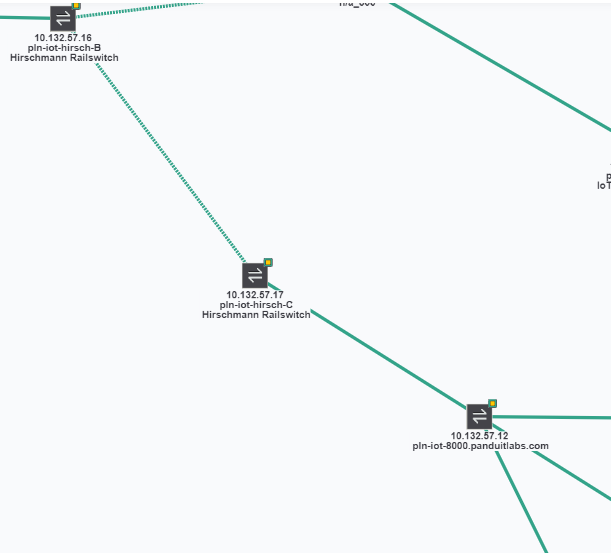
In the image below, the .16 and .17 devices have been discovered as wireless bridges. IntraVUE™ will not know which ip address is on the IntraVUE™ side of the network so you could find either one as the parent.
The devices on the other side of the bridge will appear under the top bridge, along with the other end of the bridge.
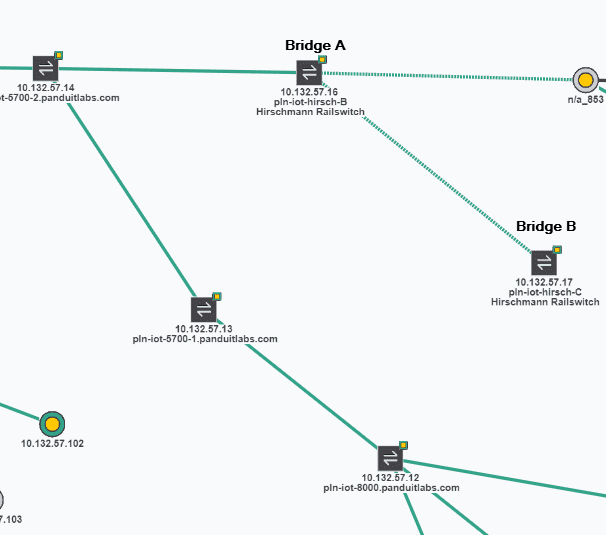
In this case, the .17 is on the IntraVUE™ side and we want the devices, starting with the .12, to appear under Bridge B, the .17, needs to get the devices so we use the Move instructions above. Select the .12 then move to, the .17.
The devices on the other side of the bridge will now be under the .17.
